Running a Python Flask web app on Kubernetes without monitoring is like driving without a dashboard: you won’t know when things go south until they do! Here’s how to set up New Relic APM for your app with minimal fuss (and a little fun).
Pre-requisites
- Python and Docker ready to roll locally.
- A working Kubernetes cluster (local or cloud-based).
- A New Relic account (Free tier is fine).
Step1: Create the app
Python Flask makes building a web app as easy as pie 😜.
Save the following code as app.py.
from flask import Flask

app = Flask(__name__)

@app.route('/')
def hello_world():
    return "Hello, World!"

if __name__ == "__main__":
    app.run(host='0.0.0.0', port=5000)
Next, create a requirements.txt file and just add flask to it.
Step 2: Build the Docker image
Time to package our app into a neat Docker image!
docker build -t flask-app --platform linux/amd64 .
[!Tip]
--platform linux/amd64is needed if you are doing this on Mac with Apple silicon.
To test our newly built image:
docker run -it --rm -d -p 5000:5000 --name web flask-app
Now curl http://localhost:5000, you should be getting Hello, World! in return.
Once confirmed our image is working, the next step is to publish to a repository like Docker Hub.
Step 3: Publish the Docker Image
Let’s send our image to Docker Hub (or your preferred registry).
docker login
docker push ahatom/flask-app:v0.0.1
Your app is now ready for Kubernetes!
Step 4: Deploy to Kubernetes
Save this to deployment.yaml:
apiVersion: apps/v1
kind: Deployment
metadata:
  name: flask-app
  labels:
    app: flask-app
spec:
  replicas: 1
  selector:
    matchLabels:
      app: flask-app
  template:
    metadata:
      labels:
        app: flask-app
    spec:
      containers:
      - name: flask-container
        image: ahatom/flask-app
        ports:
        - containerPort: 5000
Deploy it with:
kubectl apply -f deployment.yaml
The above steps simply deploy the app as a pod. In order for the web app to be useable, we need to publish it using Service. We can do so by expose the deployment. My Kubernetes cluster runs off a local virtual mahcine. So I simply use NodePort to make the service accessible via the node IP address.
kubectl expose deploy/flask-app --port=5000 --target-port=5000 --name=flask-app-svc --type=NodePort
By default Kubernetes assign a random port number (30000~32000) for the NodePort. To check what is the port number assigned to the service, run the command below.
> kubectl get service flask-app-svc
NAME            TYPE        CLUSTER-IP      EXTERNAL-IP   PORT(S)          AGE
flask-app-svc   NodePort    10.107.237.31   <none>        5000:30123/TCP   2d1h
Once we got the port number, test the magic by trying this url:
curl http://[NodeIP]:30123
If you see “Hello, World!” again, congratulations—you’re halfway to monitoring bliss!
Step 5: Install New Relic Kubernetes APM Auto-attach
Fortunately, New Relic made things a lot easier. For apps running on Kubernetes, they provide an “operator” called Kubernetes APM auto-attach.
To install the “Operator”, all you need is a New Relic Ingest License key and the command below:
helm repo add newrelic https://helm-charts.newrelic.com
helm upgrade --install newrelic-bundle newrelic/nri-bundle \
    --set global.licenseKey=$NEW_RELIC_LICENSE_KEY \
    --set global.cluster=kubernetes \
    --namespace=newrelic \
    --set newrelic-infrastructure.privileged=true \
    --set global.lowDataMode=true \
    --set kube-state-metrics.enabled=true \
    --set kubeEvents.enabled=true \
    --set k8s-agents-operator.enabled=true \
    --create-namespace
Step 6: Enable APM instrucmentation
Here’s where things get exciting! Configure the app to use New Relic instrumentation by creating an Instrumentation custom resource.
Save this to instrumentation.yaml:
apiVersion: newrelic.com/v1alpha2
kind: Instrumentation
metadata:
  name: newrelic-instrumentation-python
  namespace: newrelic
spec:
  agent:
    language: python
    image: newrelic/newrelic-python-init:latest
    env:
      - name: NEW_RELIC_APP_NAME
        valueFrom:
          fieldRef:
            fieldPath: metadata.labels['app']
  podLabelSelector:
    matchExpressions:
      - key: "app"
        operator: "In"
        values: ["flask-app"]
You can set the selector to either namespace or pod level. In our case, we use podLabelSelector to sepcify the app.
Apply the CR with:
kubectl apply -f instrumentation.yaml
If you don’t see any APM data coming through for the app, try rollout restart the flask-app deployment.
kubectl rollout restart deploy/flask-app
Step 7: Bask in the Glory of Monitoring
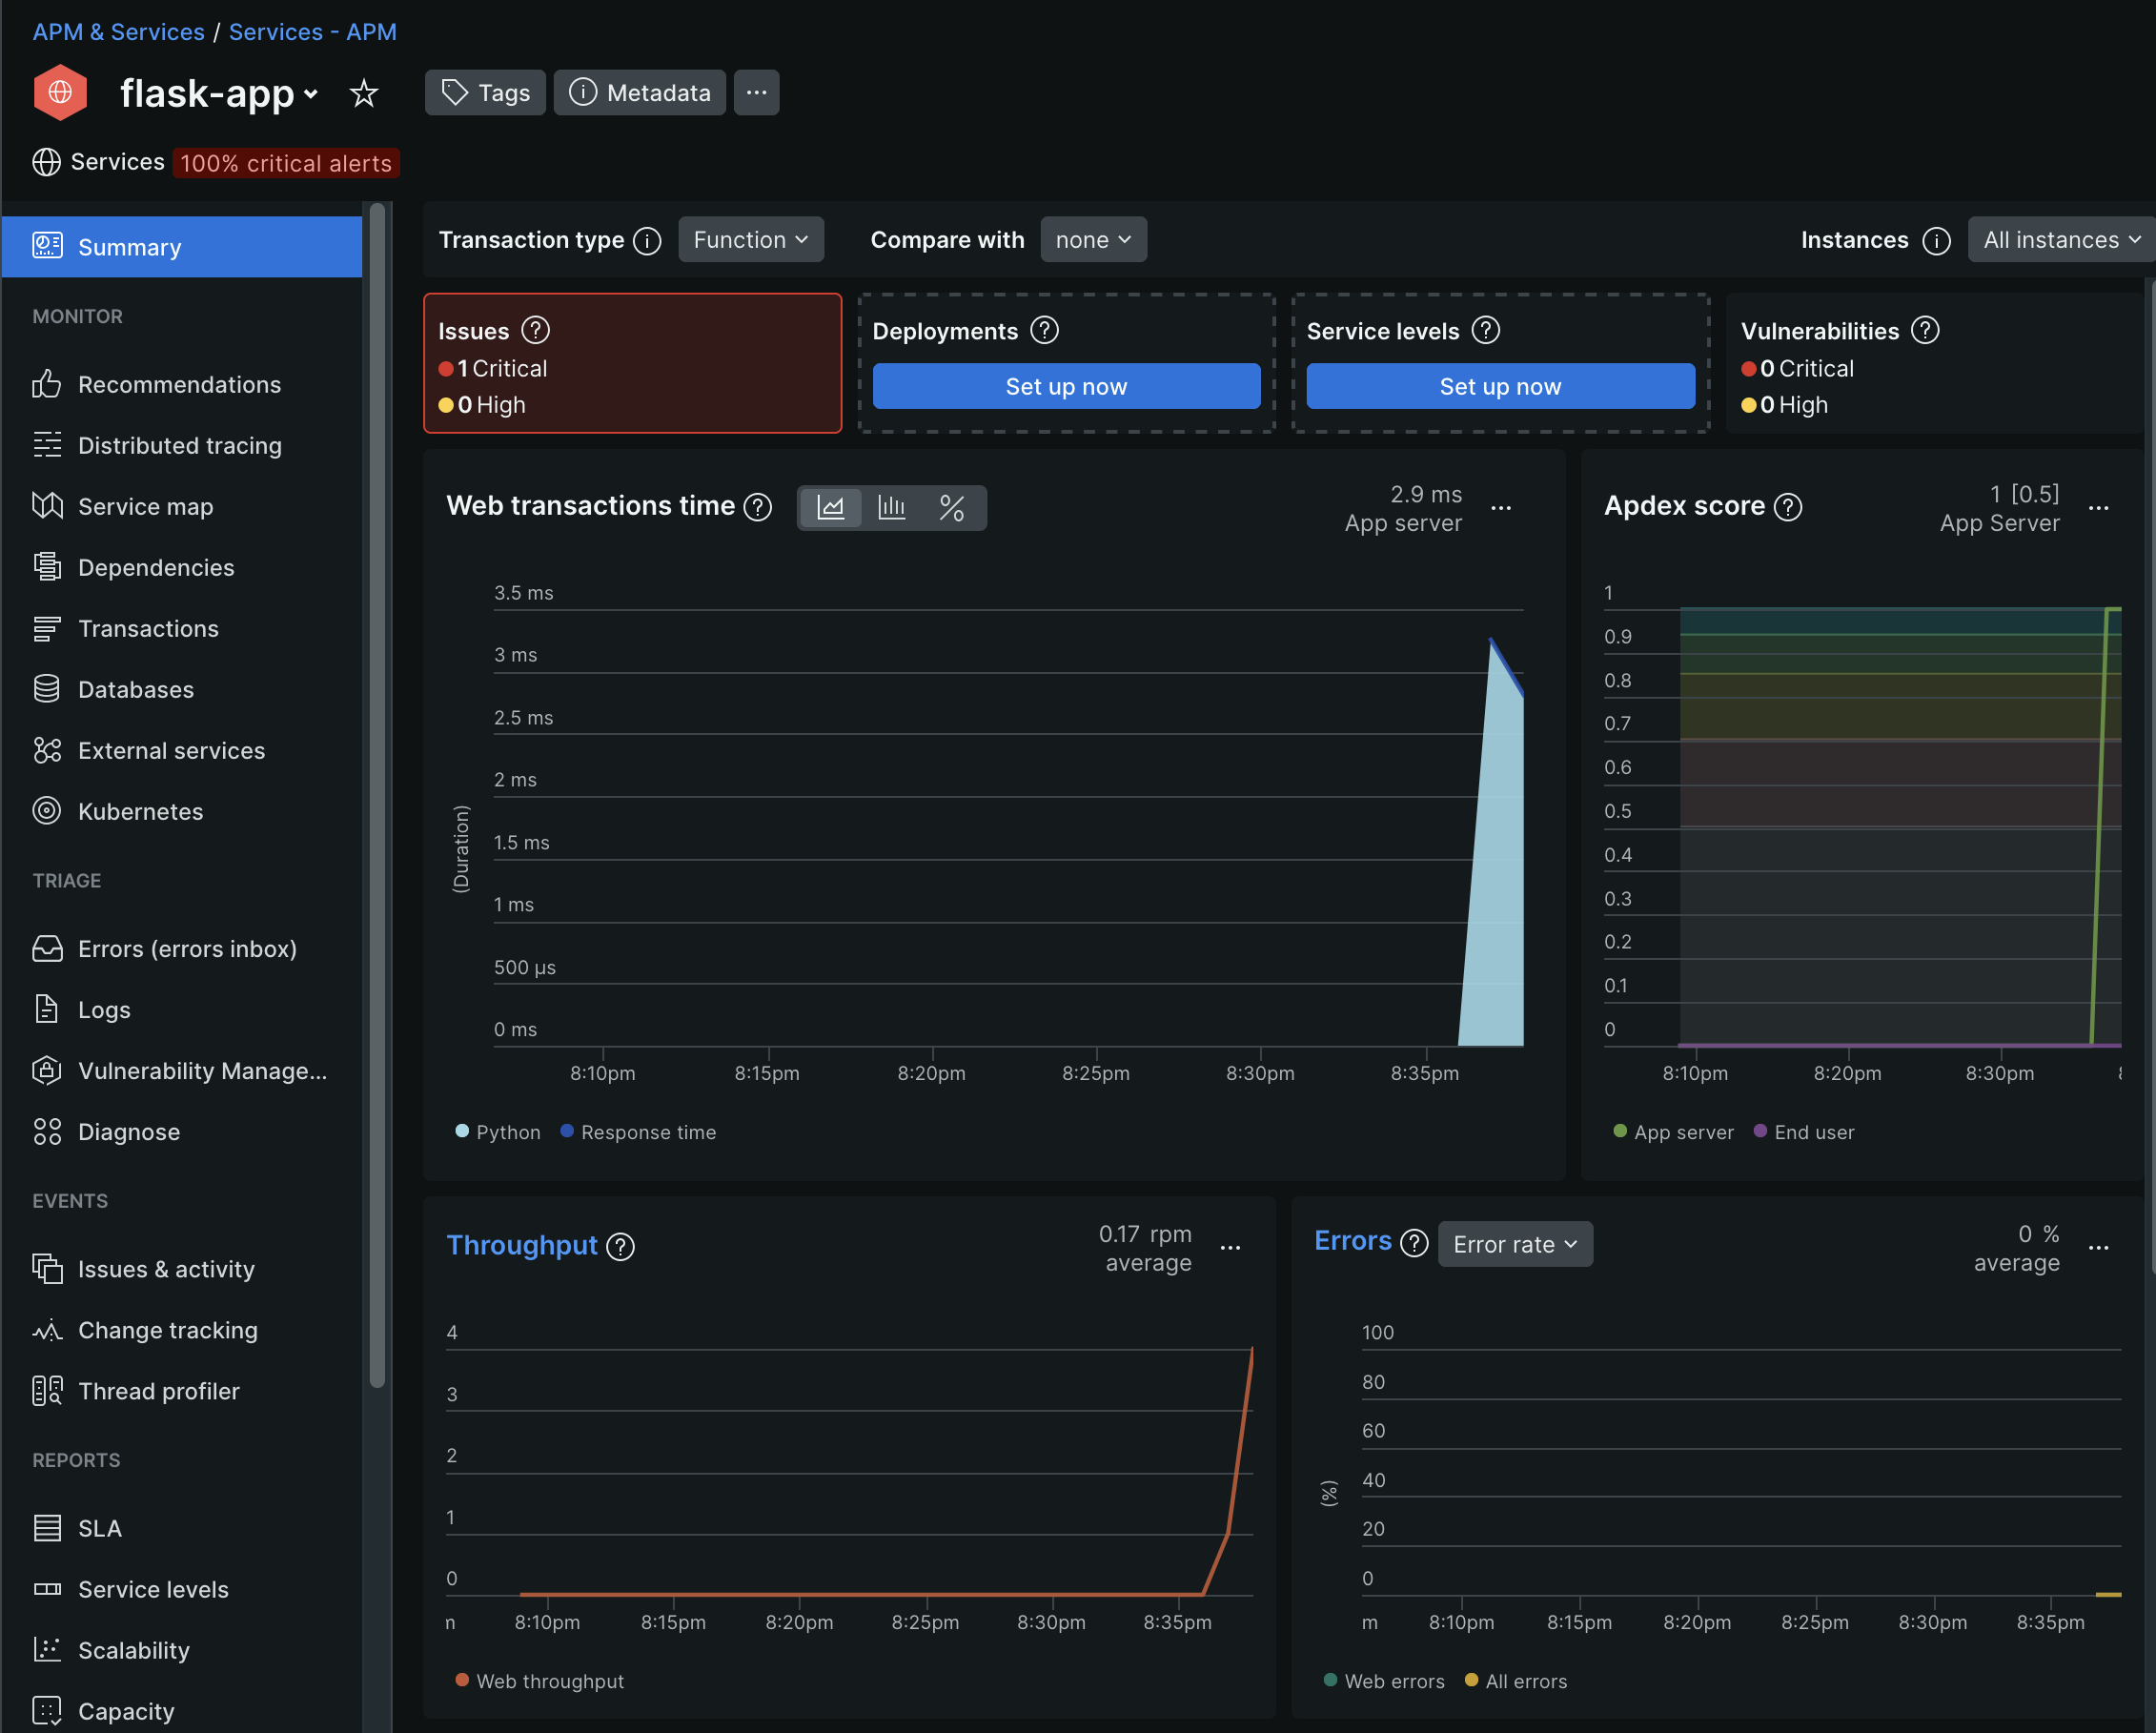
Head to the New Relic UI and marvel at your Flask app’s telemetry. It’s like watching your app’s heartbeat in real-time—except without the medical drama!

🎉 Congratulations! You’ve successfully set up New Relic APM for your Python Flask app.
Last modified on 2024-12-15